Assign Oracle Privileges
Each Module Integrator requires specific Oracle privileges to run the Oracle web services they use. If privileges are missing, users cannot use the Integrator(s). This step must be done by someone with access to the Security Console.
If you want to see what access your user already has, they can use the Verify User functionality in the More4apps Toolbox Add-in in Excel located under the Help option. It will outline what access the user is missing to use the products.
| If you have used the Job Role Import in the Admin Utility, you can assign the imported job roles to users. The required privileges are included automatically. |
Before assigning anything, you can review the Privileges and what is included in the More4apps Job Roles below:
| To ease testing and trialling we reccomend housing the More4apps Roles under your own Master role to easily assign to users rather than one role at a time. You can see the steps on how to create and assign your own master role here. |
Assigning More4apps Job Roles
After you have used the Admin Utility Tool to import the predefined Job Roles, you can now assign them to your users.
-
Log in to your Oracle ERP Cloud instance with Security Console access.
-
Navigate to Tools > Security Console from your Oracle Homepage.
-
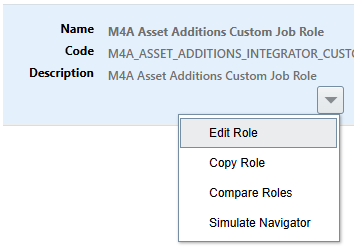
Using the search box search for the More4apps Job Role.
-
You can find the Job Role name in the Module guide 'Getting Started' > 'Integrator Privileges' section.
-
-
Click the drop down arrow and click 'Edit Role'
-
Go to the Users Tab.
-
Click 'Add User' and search/add all users for the role
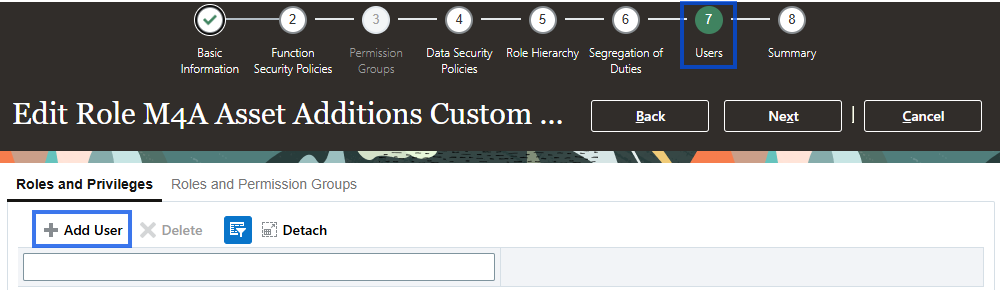
-
Click 'Next' then Save and Close.
| Privilege assignment within Oracle Cloud may not take immediate effect in the environment. Oracle recommends waiting four minutes or more before privileges assignment takes effect. Please refer to the Oracle documentation for further details. |
Users can now proceed to Excel and start using the Module. For information on getting started see the Get Started section.
Creating and Assigning Your Own Custom Job Roles
If you do not want to import the More4apps predefined Job Roles you can create your own and populate them yourself.
-
Log in to your Oracle ERP Cloud instance with Security Console access.
-
Navigate to Tools > Security Console from your Oracle Homepage.
-
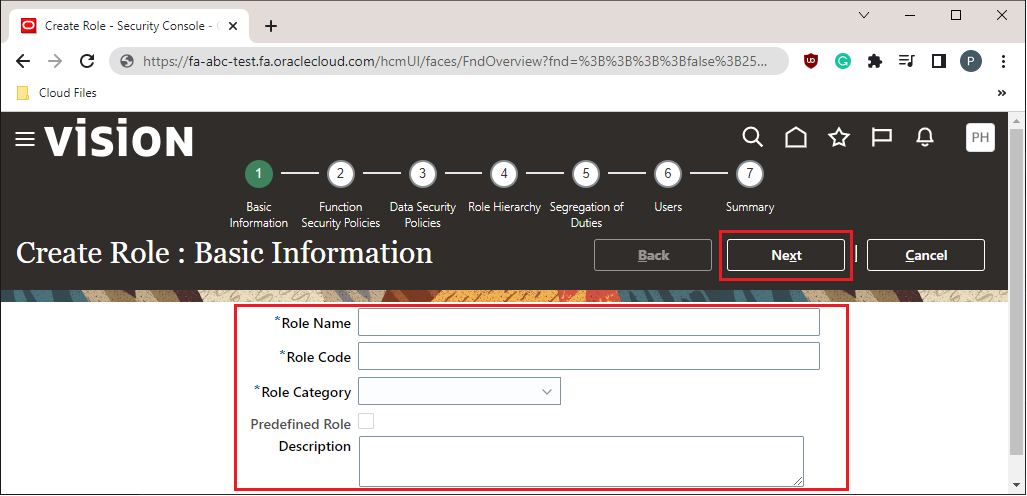
Click Create Role.
-
Enter a Role Name, Role Code of your choice, and select 'Common Job Role' as the Role Category
-
Click Next.
-
Under the 'Function Security Policies' page click the 'Add Function Security Policy' button.
-
Search for and add the additional privileges appropriate for the role you are creating. Repeat this step for all privileges that are required.
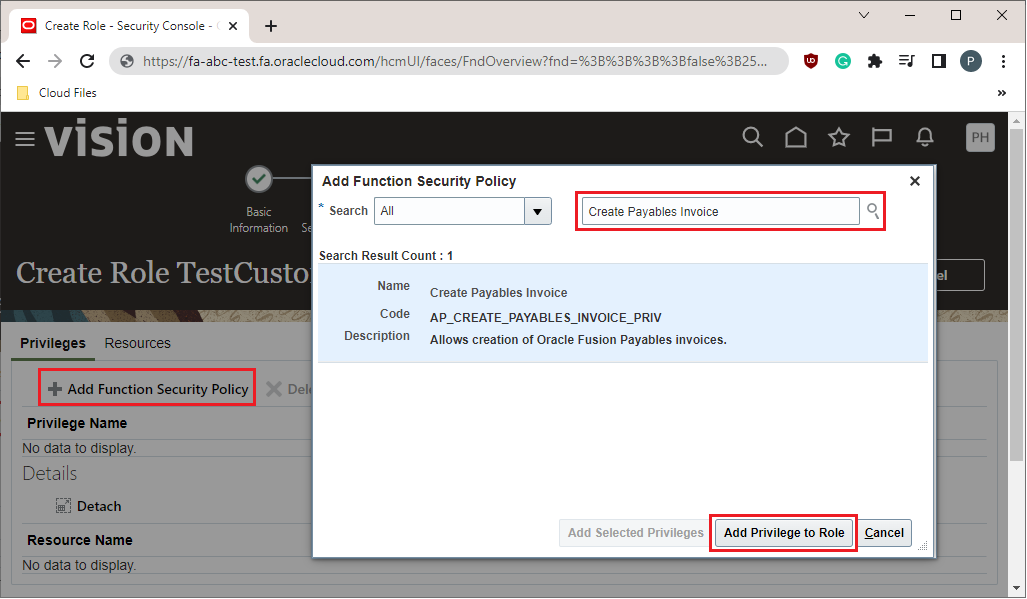
-
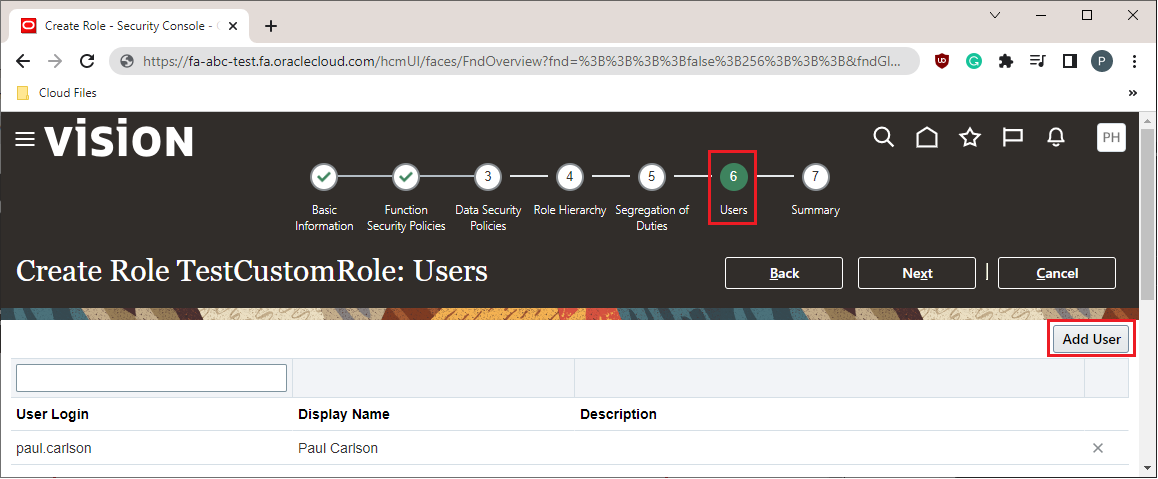
Click 'Next' until you reach the 'Users' Tab.
-
Click 'Add User' and search/add all users for this role
-
Click 'Next' then Save and Close.

| Privilege assignment within Oracle Cloud may not take immediate effect in the environment. Oracle recommends waiting four minutes or more before privileges assignment takes effect. Please refer to the Oracle documentation for further details. |
Users can now proceed to Excel and start using the Module. See the Getting Started page.